In life, if you want to create a comfortable bathing en […]
In life, if you want to create a comfortable bathing environment, not only must the relevant equipment be installed, but you also need to choose some well-known brands, so that the quality can be guaranteed. However, some friends do not know how to install the rain shower pipe in the bathroom? Here is a brief introduction.
1. Measurement
Generally, the size of the hole should be measured before installation, and then use a ruler or color pen to draw, mark, etc.
2. Punch
Since punching involves related technologies, you need to find a professional master when punching. In addition, when punching holes, punch holes according to the drawn size, and install the connectors after punching is completed. In fact, try to wrap tape around the interface after the punching is completed, so as not only to seal, but also to reduce water leakage.
3. Install the faucet
Before installing the faucet, take out the faucet first, then put the foot pad into the nut to connect with the joint, and lock the nut. In order to protect the valve core in the faucet well, it is necessary to install the filter screen before installing the shower head, which can effectively extend the service life of the shower head.
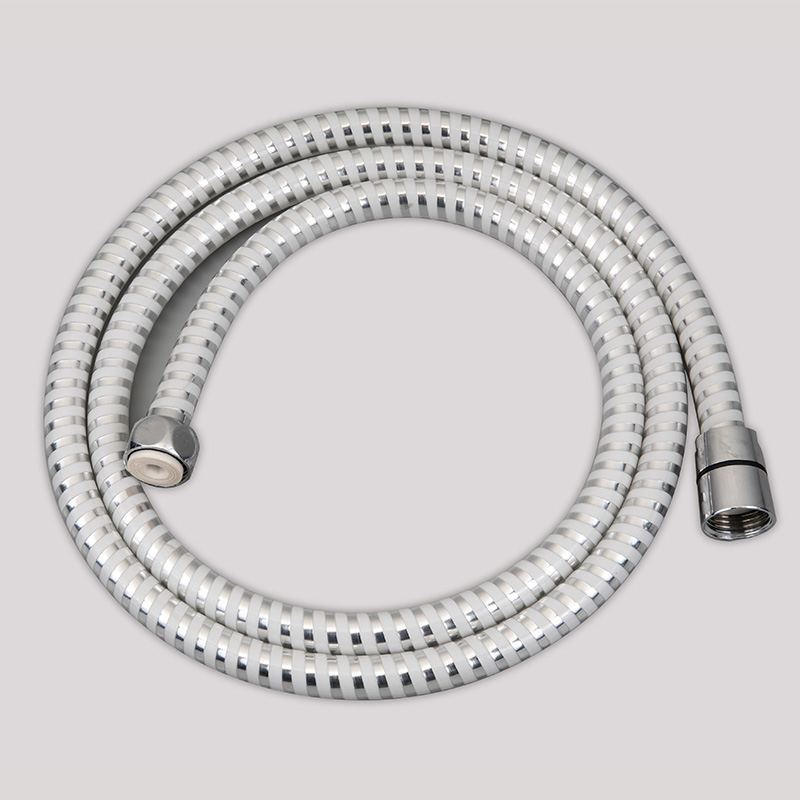
4. Connect the shower
When connecting the shower, it is actually necessary to directly connect the stainless steel software with the switch of the water heater and fix it by hand.
5. Fixed
After all the installations are completed, you need to fix the top spray with the bracket. Here you need to use a wrench to avoid loosening during subsequent use.
The above is a brief introduction of how to install the bathroom rain shower pipe. Although these methods are relatively simple, in order to effectively extend the service life of the shower pipe during the installation process, try to install it in accordance with the methods described above during installation.
Yuyao fanghong sanitary ware factory is an enterprise specializing in production of stainless steel metal hoses. It has been engaging in design, produtcion and marketing of sanitary utensile. The company Imports some oversea precise equipments, and cultivaed various professional staff. It has become the comprehensive